 eChowder
Sourdough Starter Troubleshooting
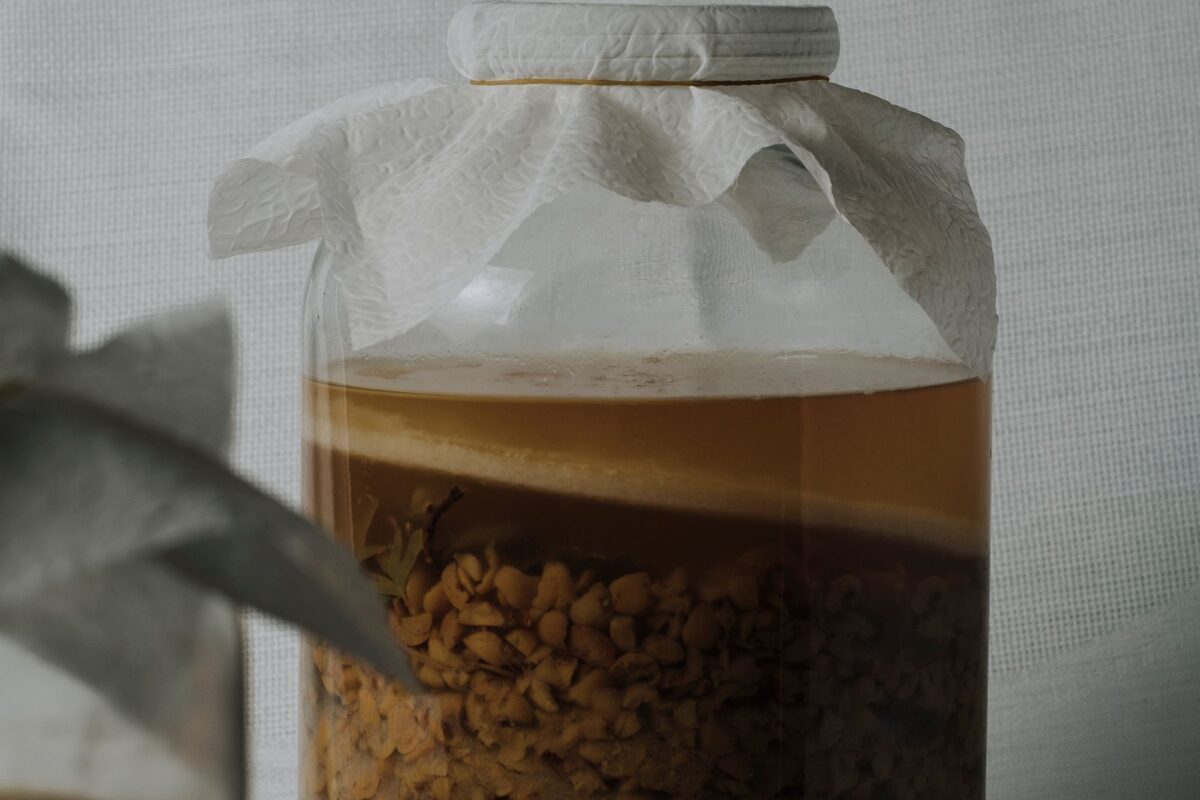
I have killed, revived, and killed again more sourdough starters than I want to admit publicly, and somewhere in that process I learned to actually read what a starter is telling me instead of panicking and throwing it out at the first bad sign. Most starter problems are fixable. The starter is a living culture of wild yeast and bacteria, and like most living things, it's usually trying to tell you something specific about temperature, food, or time, not announcing that it's dead.
Before you dump anything down the drain, work through what's actually happening. Below are the problems that come up again and again, in the order I'd actually check them.
First, a baseline: a healthy, well-fed starter at room temperature should roughly double in size within four to eight hours of feeding, smell pleasantly sour and a little yeasty, and show a web of bubbles throughout, not just on top. Anything that deviates from that is a clue, not a death sentence.
Problem: it smells like nail polish or acetone
This is alcohol, and it's actually a sign your starter is hungry, not sick. When the yeast runs out of available food, it starts producing ethanol as a byproduct, which smells sharp and chemical rather than pleasantly sour. The fix is almost always more frequent feeding — if you're feeding once every 24 hours and this keeps happening, try twice a day for a few days, or increase the ratio of flour and water to starter at each feeding so there's more food to work with between feeds.
Problem: it's not rising at all
Check the temperature first. Wild yeast activity slows dramatically below about 70°F, and a starter sitting in a cold kitchen in fall or winter can look completely dead when it's actually just sluggish. Move it somewhere warmer — on top of the fridge, near (not on) a radiator, or inside an oven with just the light on, which holds a gentle, steady warmth. If temperature isn't the issue, check your flour; starters fed exclusively with heavily bleached all-purpose flour sometimes struggle because bleaching strips some of the natural yeast and bacteria the starter relies on for new activity.
Problem: it's separated into layers, with a grey liquid on top
That grey liquid is called hooch, and it's the same alcohol byproduct as the nail-polish smell, just in liquid form. It means the starter has gone a while without food. You can pour it off or stir it back in — stirring it in gives a slightly more sour flavor, pouring it off mutes that sourness — and then feed as normal. This is rarely a sign the starter is unsalvageable; it's one of the most common and most fixable issues there is.
Problem: it rises fast, then collapses before I can bake with it
This usually means the starter is more active than your schedule expects. A vigorous starter can peak and start to fall within just a few hours in a warm kitchen. Watch it rather than go by the clock — you want to catch it at or just before peak, when it's domed and full of bubbles but hasn't started to sink in the middle. If your schedule genuinely doesn't allow watching it that closely, move it to the fridge a bit earlier in its cycle, which slows the rise and buys you a wider window to use it.
Problem: it looks fine but my bread isn't rising
A starter can look perfectly active in the jar and still not have enough strength to lift a full dough, especially if it's young — under a month or so old — or if it's been in the fridge for an extended stretch without a few warm-counter feedings to build its strength back up. Try two or three consecutive days of room-temperature feeding before your next bake, discarding most of the starter each time and feeding what's left generously. This rebuilds yeast population and strength more reliably than a single feeding the night before.
When to actually start over
In my experience, almost nothing short of visible mold — fuzzy spots, usually pink, orange, or black, not the grey hooch — means you need to discard and start fresh. A starter that smells unpleasant, looks sluggish, or has been neglected in the fridge for weeks is almost always revivable with a few days of consistent feeding. I've brought back starters that sat forgotten for over a month with nothing more than patience and a feeding schedule.
The habit that fixes most problems before they start
Most of the troubleshooting above becomes unnecessary once you get into a rhythm: feed at roughly the same time each day, keep it at a consistent temperature, and actually watch how it behaves rather than going strictly by a schedule from a book. A starter is a relationship, not a recipe, and the longer you keep one, the more its particular rhythms become obvious at a glance.
Reading the jar instead of the clock
Once you've kept a starter for a few months, you stop needing most of this troubleshooting because you start recognizing its particular signals before they become problems. The dome shape right before it peaks, the specific way the bubbles look when it's about three hours from ready, the smell shifting from sharp to mellow as it settles after feeding — these become familiar in a way that's hard to describe in a list but easy to notice once you're paying attention regularly.
I'd rather you under-trust a schedule and over-trust what's actually in the jar in front of you. The schedule is a starting guess. The jar is the truth.